Unfortunately, response pad units shipped prior to June 2011 will not work with the 64-bit editions of Windows XP, Vista, Windows 7, or later. This is because Microsoft changed the security policies after the RB-x30 response pads were released. This document describes the steps that are necessary to make the response pads work across all Mac and Windows computers.
Please follow the installation instructions carefully.
Once reconfigured, the response pad will work on any version of Windows and any version of Mac OS. However, performing the following steps in order to reconfigure the RB response pad works only on Windows XP (32-bit version).
Note: depending on which version of Windows you are using, some of the screen snapshots shown below may look different on your computer.
Download and unzip the following compressed folder. To make it easier to locate, we recommend saving it to the Desktop. Once these steps are completed, the folder can be deleted.
rbx30_driver_uninstall.zip [2.7 MB]
If you are certain that you have never installed the response pad’s USB drivers on the computer, you can skip this step.
On your desktop:
a. Make sure that the response pad is not plugged in.
b. Open the folder that you just downloaded and unzipped, “RB-x30 Driver Uninstall”.
c. Open the folder within it called “FTClean”.
d. Double-click on the program “FTClean.exe” to run it.
e. In the PID edit field, type F228.

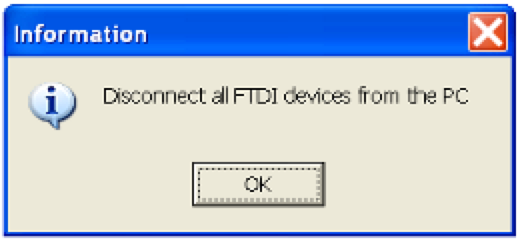
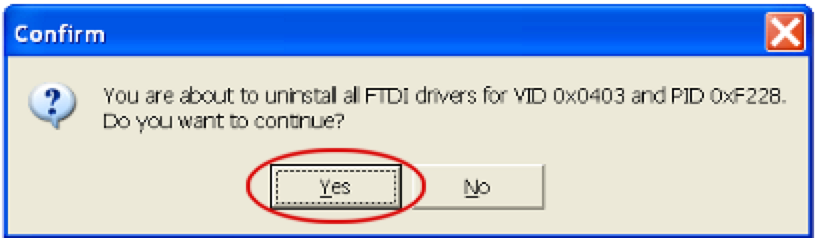
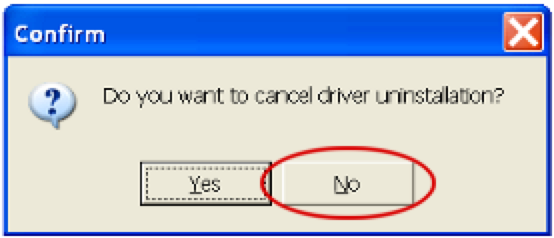
f. Click on the Clean System button to remove any previously installed USB drivers. You will see the following 3 messages:
g. Repeat step f above one more time. In our testing, it sometimes took two attempts.
h. Exit the FTClean program.
Plug your RB Series response pad into your Windows computer. Unless you skipped Step 3 above, you will see the following dialog (screen):
•
Click on the No, not this time option
•
Click on Next. The following dialog will appear:
•
Select the Install from a list or specific location option
•
Click on Next
•
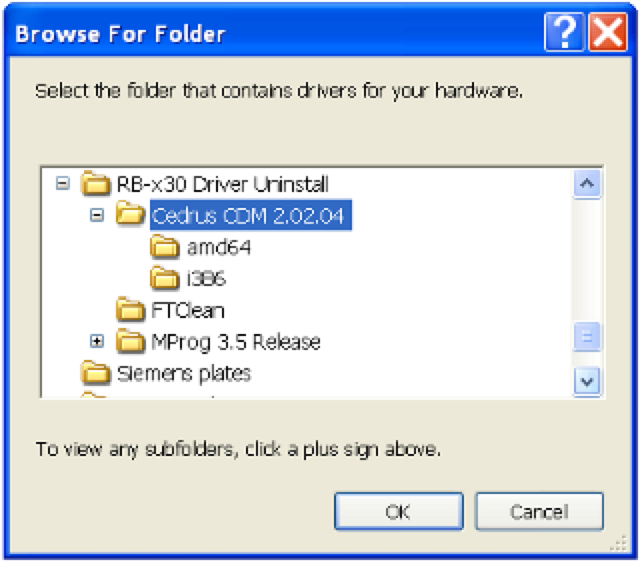
In the next dialog, click on the Browse button. This will prompt you for the location of the USB driver. It can be found inside the “RB-x30 Driver Uninstall” folder that you downloaded and unzipped earlier, in a folder called “Cedrus CDM 2.02.04″:
•
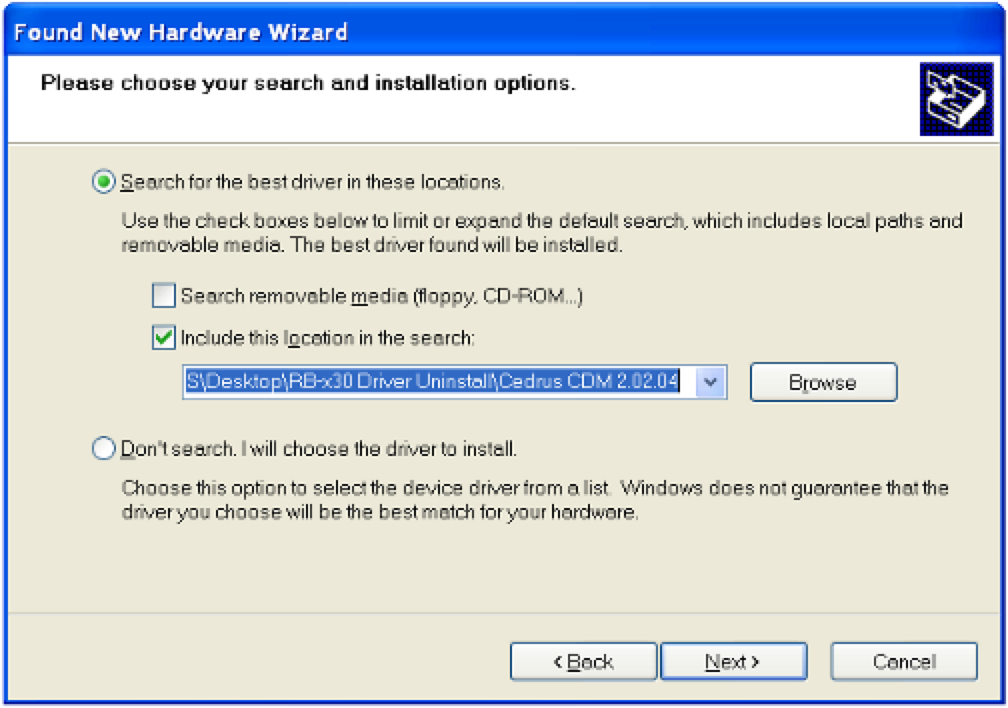
After you click on OK, you should see a dialog that’s similar to this. Click on Next.
•
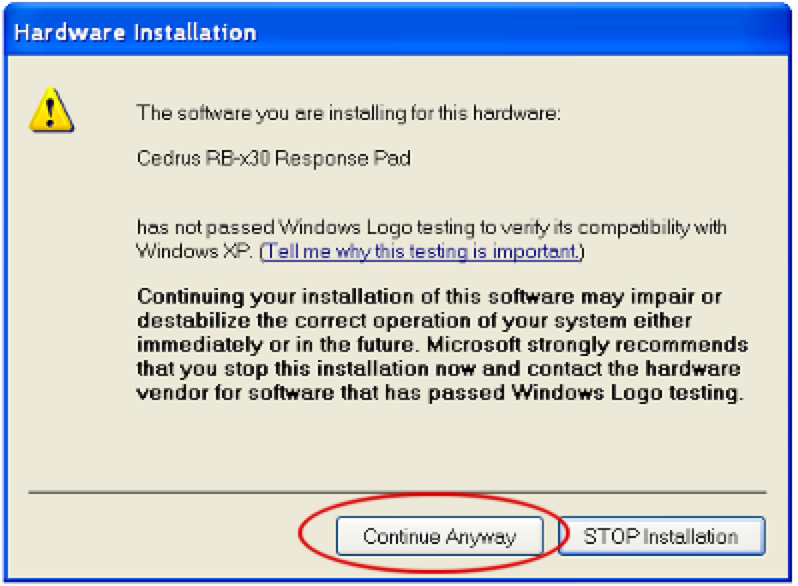
One more warning; click on Continue Anyway.
This should complete the installation of the new USB driver.
This last step involves running a program called “MProg 3.5” that’s also found inside the downloaded folder:
a. Open the folder that you just downloaded and unzipped, “RB-x30 Driver Uninstall”.
b. Open the folder within it called “MProg 3.5 Release”.
c. Double-click on the program “MProg.exe” to run it.
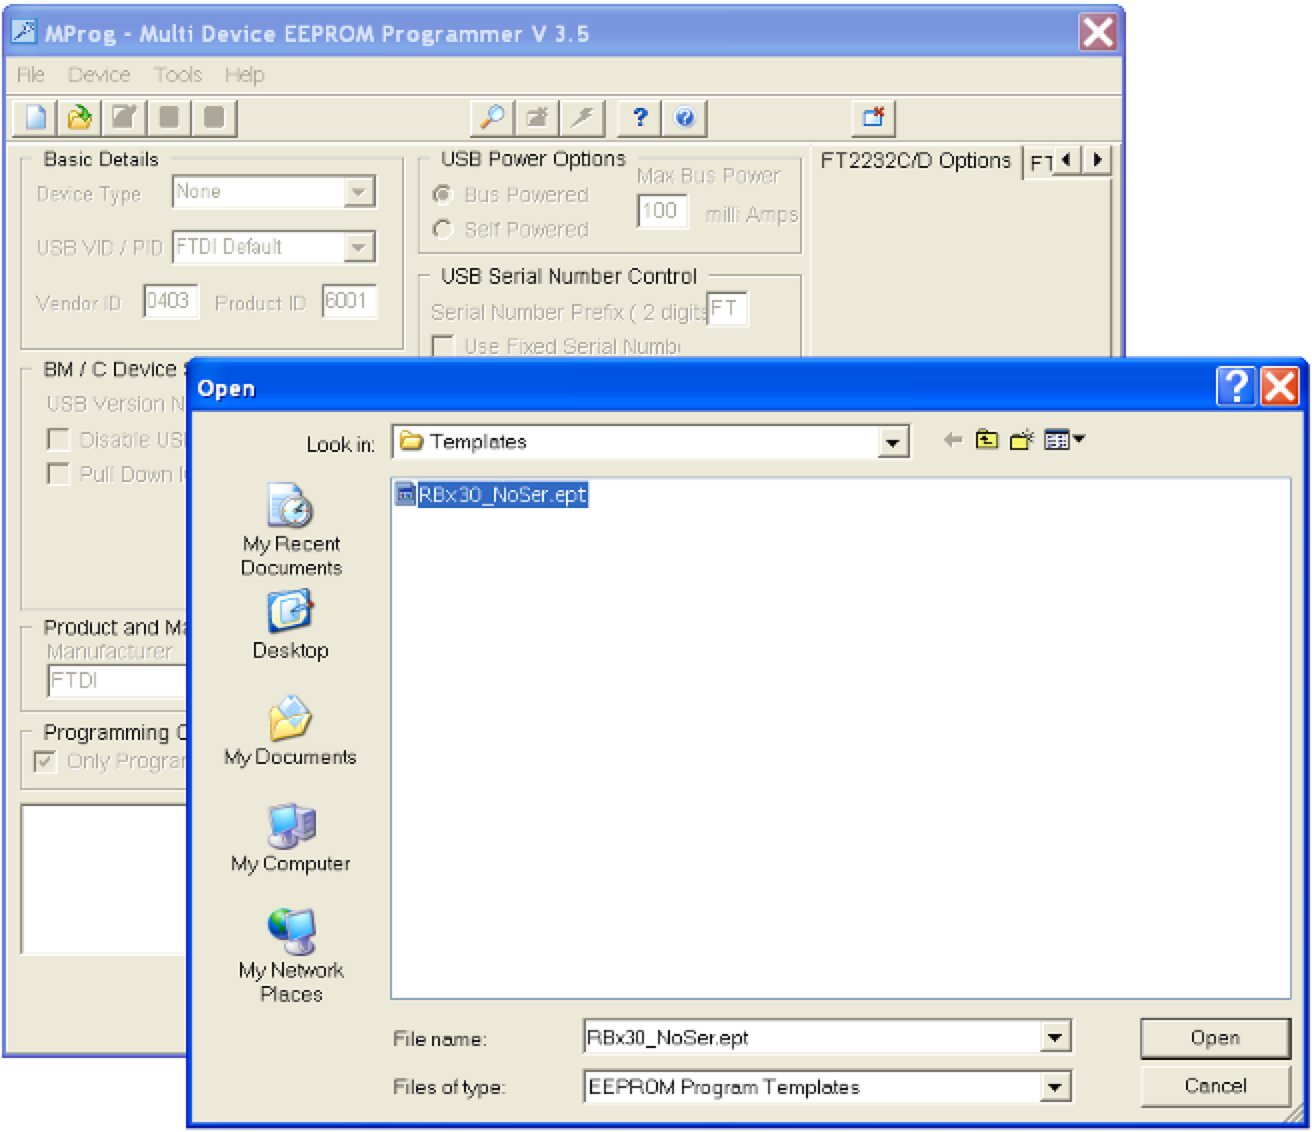
d. In MProg, click on the File menu and then on Open. It will prompt to open a file.
e. Select “RBx30_NoSer.ept” then click on Open:
f. Near the top, click on the magnifying glass icon:
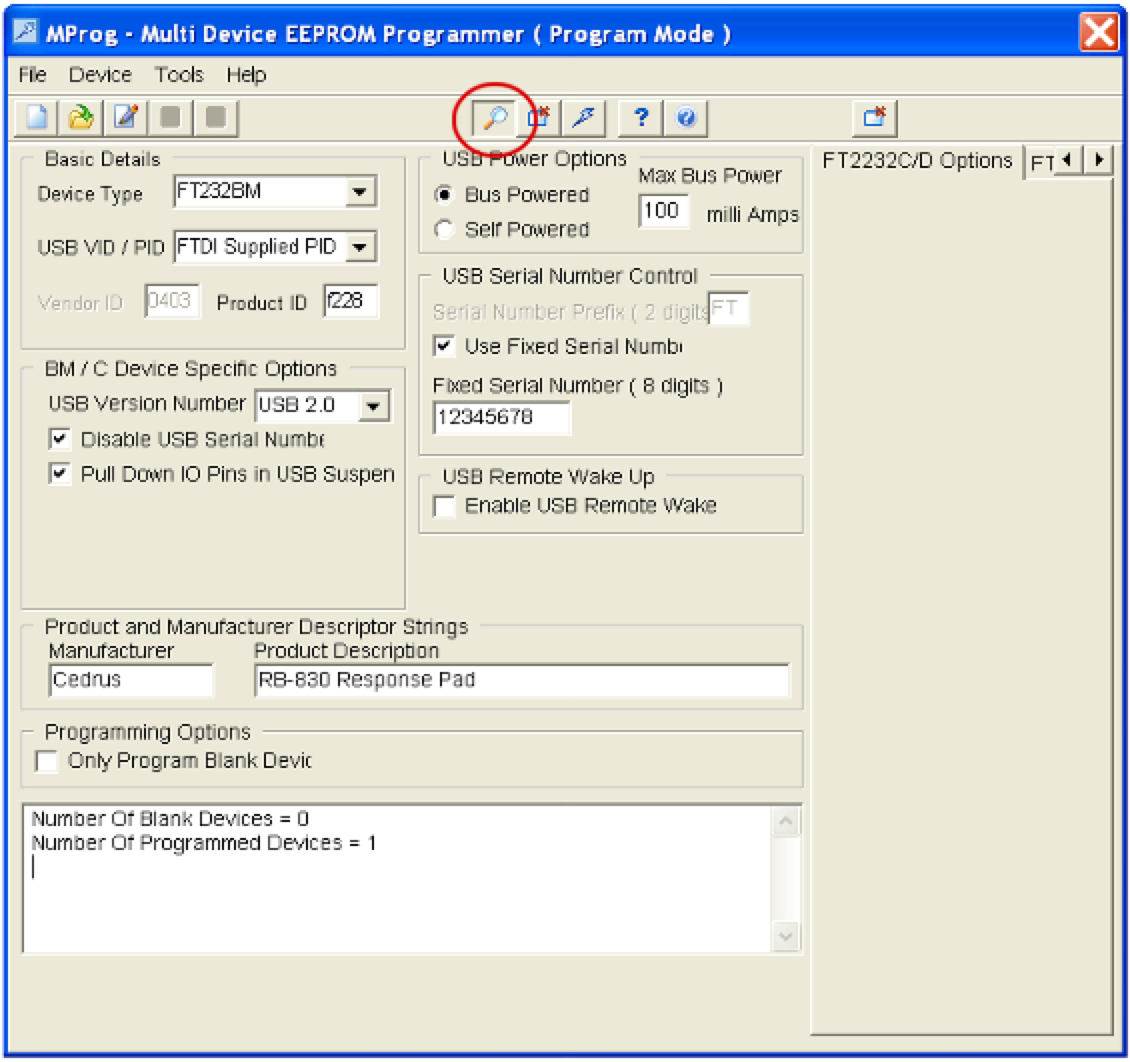
The program should display at the bottom:
Number Of Blank Devices = 0
Number Of Programmed Devices = 1
g. Next, click on the erase icon that’s immediately to the right of the magnifying glass icon:
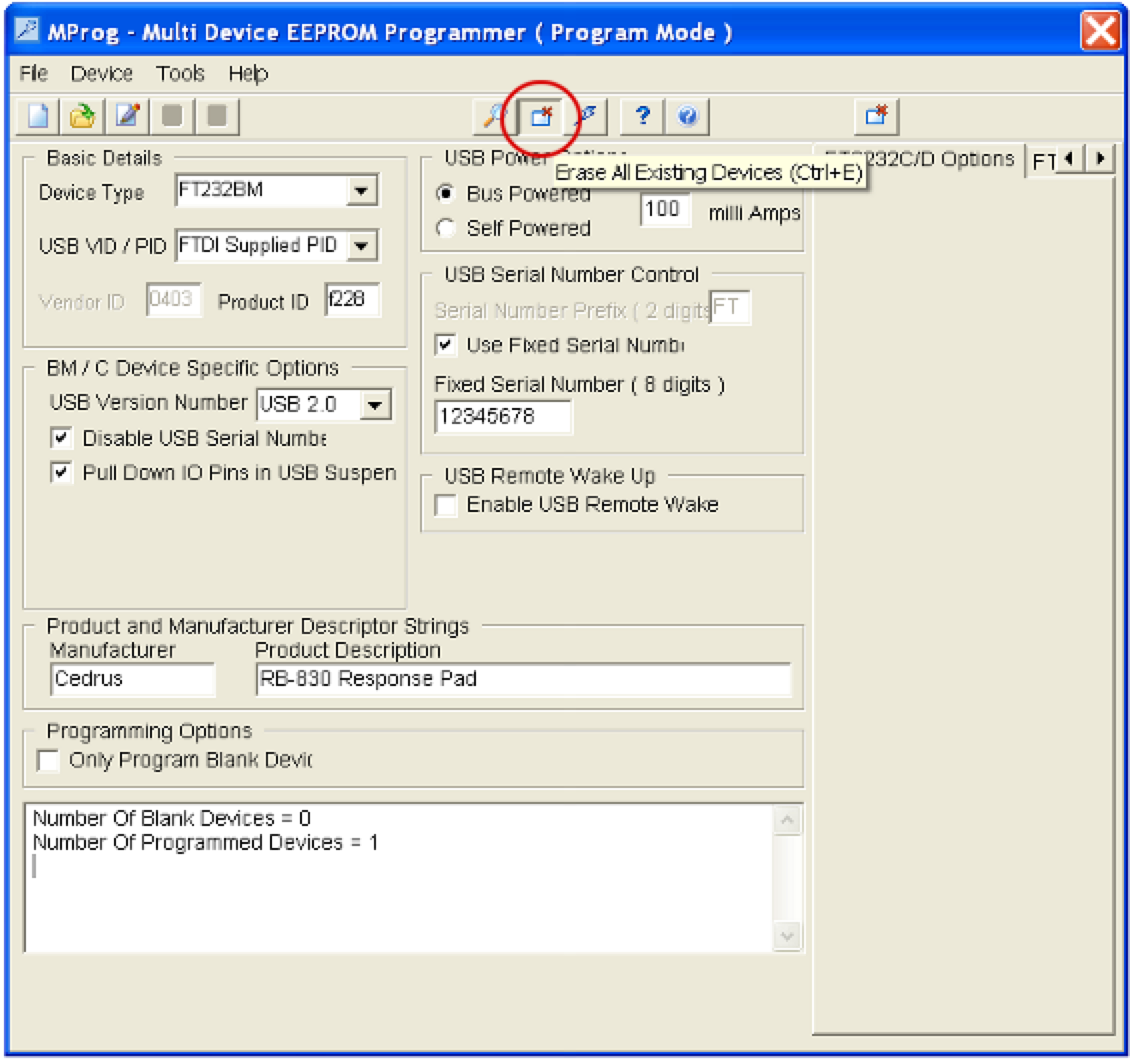
h. Click on the magnifying glass icon again. This time, MProg should display:
Number Of Blank Devices = 1
Number Of Programmed Devices = 0
i. Exit MProg.
You are done with the reconfiguration process.
The response pad now has a different internal USB product ID. It is brand new as far as your operating system is concerned. The next step is to unplug the response pad from the computer and plug it into the computer that you intend to use it with, then follow the USB driver installation instructions for Mac, Windows, or Linux.
PRODUCTS
SUPPORT
STAY IN TOUCH
© Copyright 2026 Cedrus Corporation, P.O. Box 6309, San Pedro, CA 90734 - USA
Phone: +1-310-548-9595. Send us an email
qwerasdf