Riponda represent Cedrus’ sixth generation of response pads. They are built on the XID (eXperimental Interface Device) version 2 platform. The microcontroller contains firmware (another name for software) that is occasionally updated to add new features or fix bugs.
Version
Changes and Additions
Release Date
2.2.8
Initial firmware when Riponda models first shipped
Mar 2023
2.2.9
Fixes key mapping on Riponda Model S
Aug 9, 2023
Step 1 – Downloading the Necessary Files
Two files will need to be downloaded. The first one is the firmware itself. We recommend that you save it on the desktop to make it easier to find later on:
Microsoft Edge users: the firmware file should have a .HEX file extension. If the Edge browser changes it to .MAN, you will need to rename it back to .HEX.
The second file is a utility program called Xidon (pronounced Zydon) that will allow you to communicate with the response pad. Even though available for both Mac and Windows, only the Windows version can update the. This is because Xidon relies on a utility software that is provided by the chip maker, and that utility software works only on Windows.
The switches on the bottom of Riponda should be all in the UP position. If they are not, disconnect the response pad from the computer by disconnecting the USB cable, set all switches in the up position, and reconnect the response pad to computer.
Run Xidon. Open a Windows Explorer window, then go to C: drive > Program Files (x86) > Xidon folder, and double-click on xidon.exe.
In the main window, click on the Search for Device button on the left. Xidon should find the response pad. If it does not, the most likely reason would be that the USB driver needs to be installed or switch 1 is in the DOWN position.
From the Device menu, choose Update Firmware. This will accomplish two things: it will send a command to put the response pad in a special mode, and it will launch the utility software that will actually update the firmware. Note: at this point, the response pad is not useable until you disconnect and reconnect it.
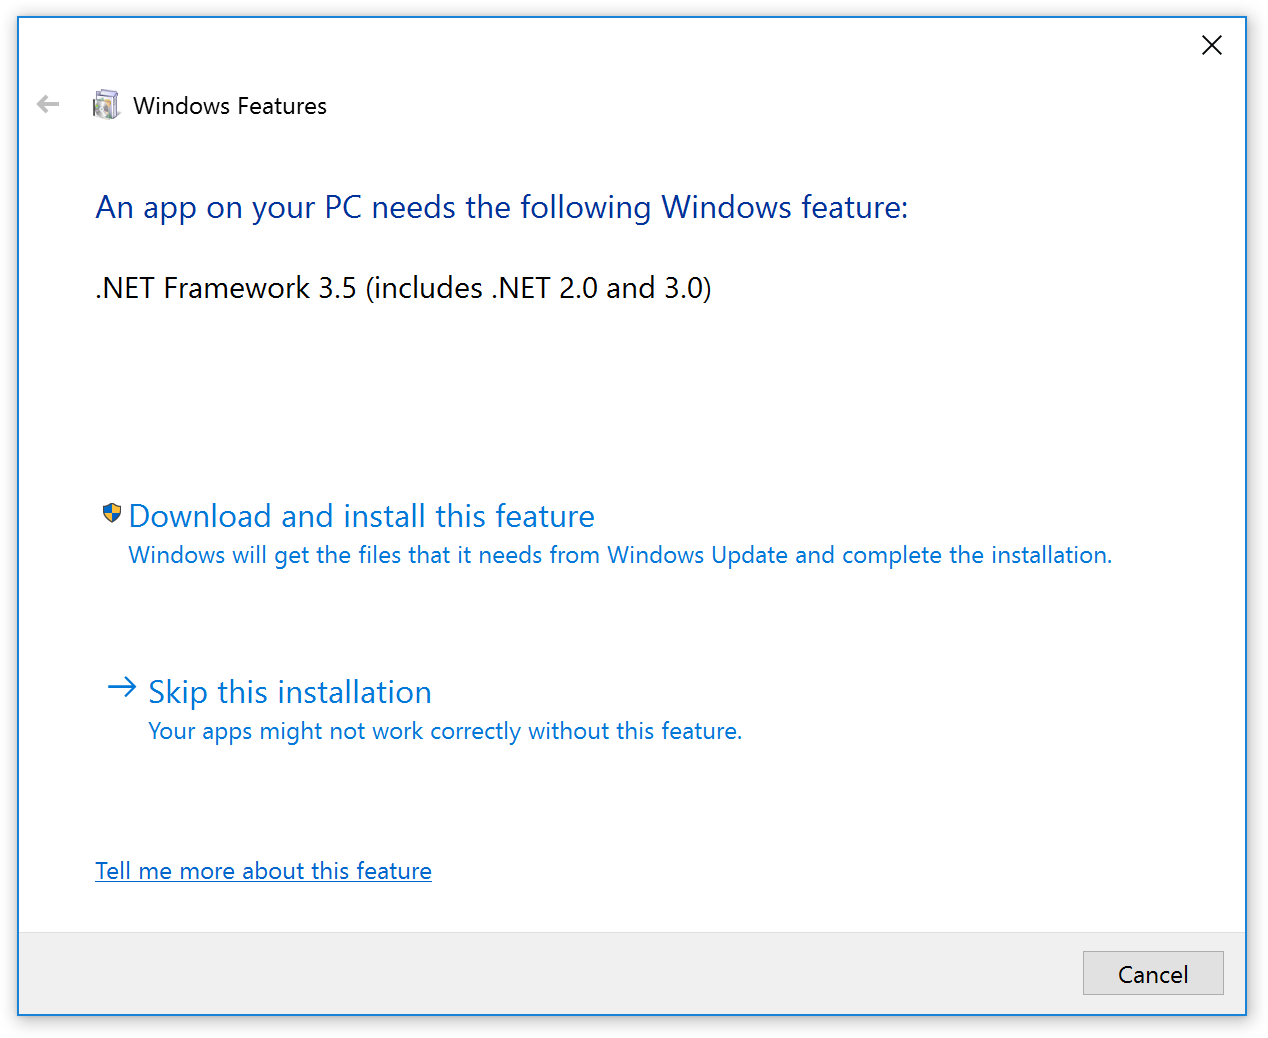
If you do not see a dialog like the one on the right, proceed to step F. If you do, click on the Download and install this feature link to proceed and follow the prompts. The manufacturer’s software utility requires the Windows .NET Framework 3.5 feature be installed. Important: once the installation is complete, you need to: 1. Reset the response pad; disconnect it from the computer and reconnect it. 2. Exit Xidon and restart with step B above.
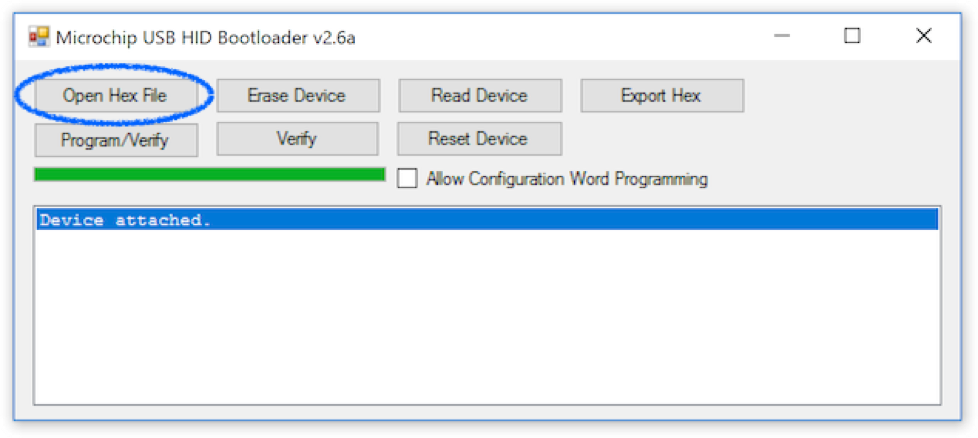
In the software utility, click on the Open Hex File button:
The utility will open a dialog prompting you to locate the .hex file. This is the file that you downloaded earlier; select it and then click on Open.
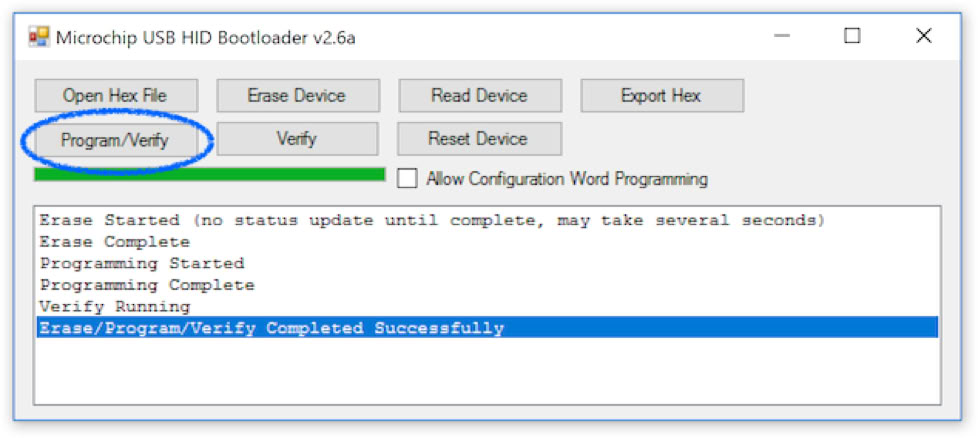
Click on the Program/Verify button. The firmware updating will proceed.
The updating is complete when the utility software displays “Erase/Program/Verify Completed Successfully”.
The response pad cannot be used until it is reset; you need to disconnect and reconnect it.
Exit the utility software.
Exit Xidon; it cannot “see” the response pad until it you exit and re-run it.
If you do not have another response pad that needs updating, delete the .hex file.
Step 3 –Restoring the Internal Model ID
The process of updating the firmware causes the response pad to loose its internal model ID.
The switches on the bottom of the response pad need to still be all in the UP position.
Run Xidon. Open a Windows Explorer window, then go to C: drive > Program Files (x86) > Xidon folder, and double-click on xidon.exe.
In the main window, click on the Search for Device button on the left. Xidon should find the response pad.
From the Device menu, choose Set Model…. A dialog appears. Select your response pad model and click on OK.
This completes the updating of the response pad firmware.